10 Quick and Easy DIY Planters to Transform Your Space
Are you ready to bring life to your home with some fun and simple DIY planters? In 10 Quick and Easy DIY Planters to Transform Your Space, I’ll guide you through unique projects that anyone can try. From recycled tins to hanging macrame, these ideas will inspire your green thumb. Whether you want cheerful herbs in your kitchen or beautiful plants in your living room, there’s something here for everyone. Let’s get crafting!
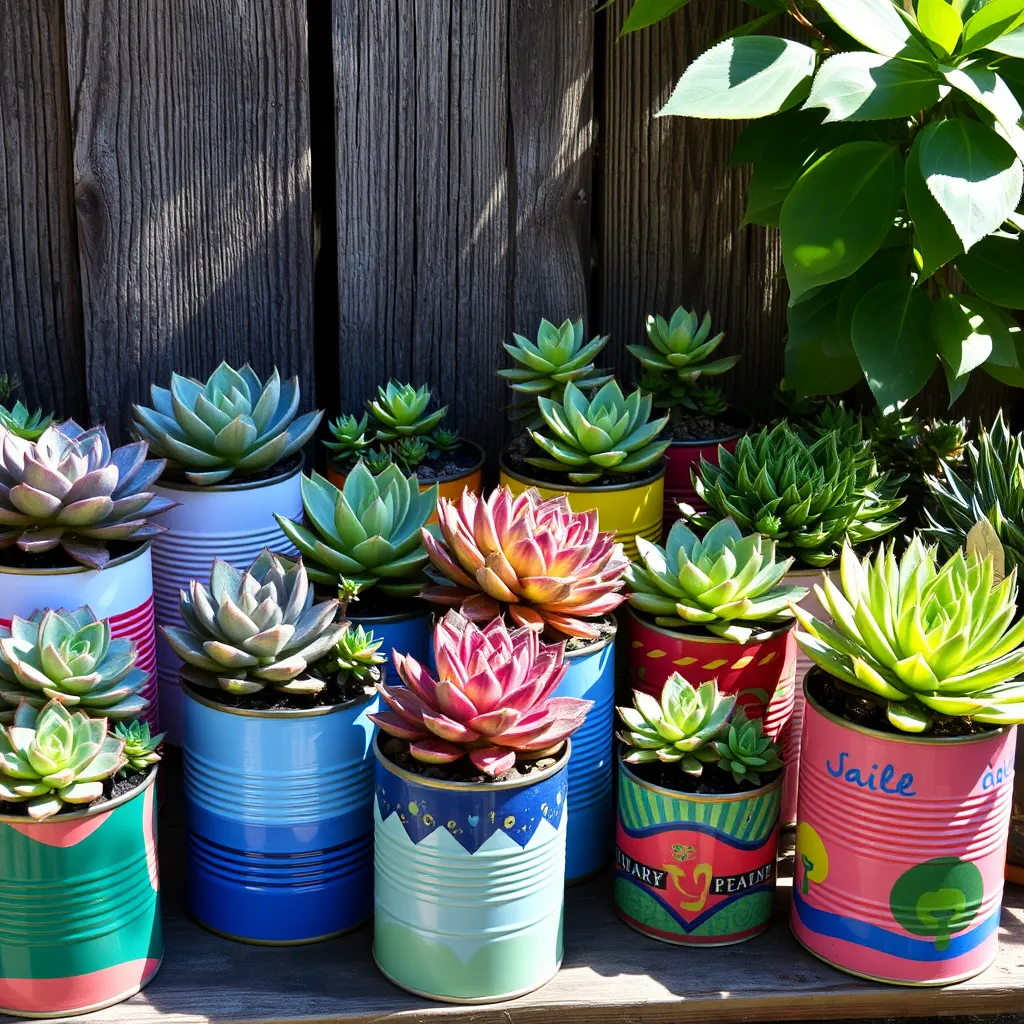
Succulent Planter with Recycled Tin Cans: Step-by-Step Guide

Materials Needed
– Empty tin cans
– Hammer
– Nail
– Paint (optional)
– Potting soil
– Succulent plants
Instructions for Crafting
1. Start by rinsing and drying the tin cans. Remove any labels.
2. Use the hammer and nail to make small holes in the bottom of each can. This allows water to drain.
3. If you want, paint the outside of the cans in fun colors. Let the paint dry fully.
4. Fill each can with potting soil, leaving some space at the top.
5. Gently place a succulent in each can. Add more soil around the plant as needed.
Plant Suggestions
– Aloe Vera
– Echeveria
– Jade Plant
– Haworthia
This project is easy and fun. You can customize the colors and sizes of the cans to match your style. Plus, succulents are low-maintenance, making them great for beginners.
Wooden Crate Planter: Create Rustic Charm

Materials Needed
– Wooden crate
– Sandpaper
– Outdoor paint or wood stain
– Potting soil
– Plants (your choice)
Instructions for Assembly
1. Start by sanding the wooden crate.
2. Apply outdoor paint or wood stain.
3. Let it dry completely.
4. Fill the crate with potting soil.
5. Plant your chosen flowers or herbs.
Ideal Plants for Crate Planters
I love using herbs like basil and mint. They thrive in a crate. You can also add colorful flowers like petunias or marigolds. These plants create a lovely rustic look.
Hanging Macrame Plant Hanger: Modern Decor Idea

Materials Needed
– Macrame cord (3mm or 4mm thickness)
– Wooden ring (for holding the cords)
– Scissors
– Measuring tape
– Pot for your plant
Steps for Knotting and Hanging
1. Cut four cords, each 3 feet long.
2. Fold each cord in half and loop them through the wooden ring.
3. Use square knots to tie the cords together.
4. Keep knotting until you reach the desired length.
5. Attach the pot by making another knot at the bottom.
6. Hang your macrame planter from a hook or a ceiling beam.
Best Plants for Macrame Hangings
– Pothos: They grow well in indirect light.
– Spider plants: Their long leaves look great hanging.
– Ferns: They add lush greenery and love humidity.
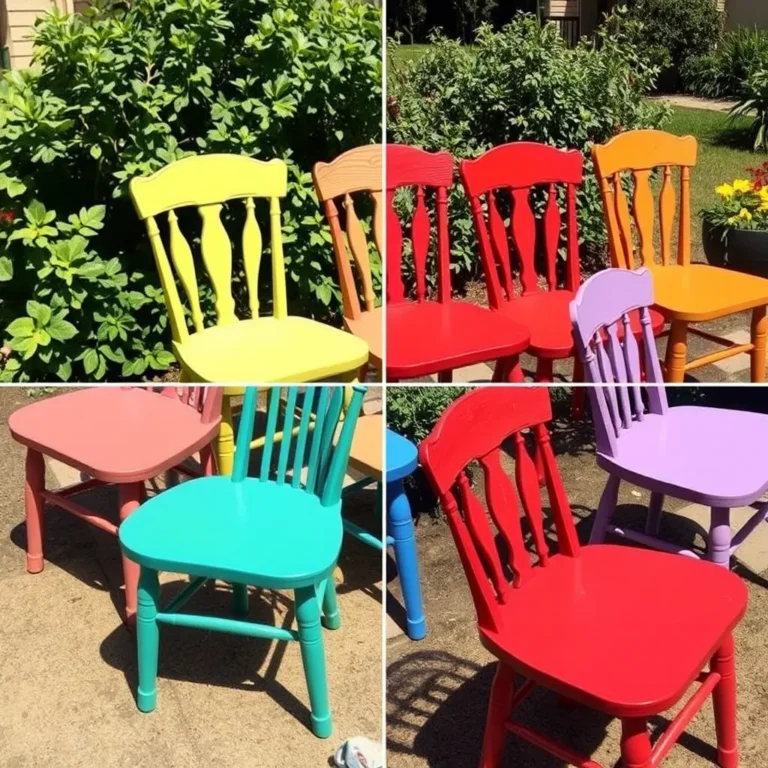
Terracotta Pot Painting: Personalize Your Planters

Materials Needed
– Terracotta pots
– Acrylic paint
– Paintbrushes
– Sealer (optional)
Instructions for Painting Techniques
1. Start with clean, dry pots.
2. Choose bright colors for a fun look.
3. Use a paintbrush to apply your base coat.
4. Let it dry for at least one hour.
5. Add patterns or designs with different colors.
6. Use a fine brush for small details.
7. Once done, let the pot dry completely.
8. If you want, apply a sealer for extra shine.
Plant Choices for Painted Pots
– Succulents are great for small pots.
– Herbs like basil and mint thrive in painted pots.
– Bright flowers add color and cheer.
– Choose plants that match your pot design.
Vertical Garden with Pallets: Space-Saving Solution

Materials Needed
– Wooden pallets (make sure they are clean)
– Potting soil (good quality)
– Landscape fabric (to hold soil)
– Plants (like herbs, flowers, or small veggies)
Step-by-Step Assembly Instructions
1. Choose your pallets: Select two or more pallets. Make sure they are sturdy.
2. Clean the pallets: Remove any dirt or debris. This keeps your plants safe.
3. Lay the pallet flat: Place it on the ground. This makes it easy to fill.
4. Add landscape fabric: Cut it to fit the back of the pallet. This helps hold soil.
5. Fill with soil: Add potting soil into the open spaces. Pack it down gently.
6. Stand the pallet up: Prop it against a wall or fence. Ensure it stands straight.
7. Plant your choices: Select your plants and place them into the soil. Press them in lightly.
Recommended Plants for Vertical Gardening
– Herbs like basil and mint
– Colorful flowers such as petunias and marigolds
– Small veggies like lettuce and radishes
This project saves space and adds charm to your area. You can enjoy fresh herbs or flowers right at home!
Glass Jar Herb Garden: Easy Kitchen Access

Materials Needed
– Glass jars (mason jars work well)
– Potting soil
– Small stones for drainage
Instructions for Setting Up
1. Start by cleaning your glass jars. Make sure they are dry.
2. Add a layer of small stones at the bottom. This helps with drainage.
3. Fill the jar with potting soil, leaving some space at the top.
4. Plant your herbs by making small holes in the soil.
5. Water the herbs lightly. Place them in a sunny spot in your kitchen.
Best Herbs for Indoor Growing
– Basil: Grows well in sunlight and adds flavor to dishes.
– Mint: Easy to care for and great for drinks.
– Chives: Perfect for adding a mild onion flavor.
– Parsley: A versatile herb for many recipes.
This simple herb garden adds life to your kitchen. You will enjoy fresh herbs right at your fingertips!
Fabric Hanging Planters: Soft and Flexible Design

Materials Needed
– Cotton fabric or felt
– Scissors
– Sewing machine or needle and thread
– Planting soil
– Small plants or herbs
Instructions for Creation
1. Cut your fabric into two equal squares. Each square should be about 12 inches.
2. Sew the edges of the squares together, leaving the top open.
3. Turn the fabric pouch inside out. This hides the seams.
4. Fold down the top edge to create a cuff. This adds strength.
5. Sew a line across the cuff to hold it in place.
6. Attach a loop of fabric or cord at the top for hanging.
7. Fill the pouch with soil and add your plants.
Plant Suggestions for Fabric Planters
– Herbs like basil and mint
– Small flowers such as violets
– Succulents for low maintenance
– Spider plants for air quality
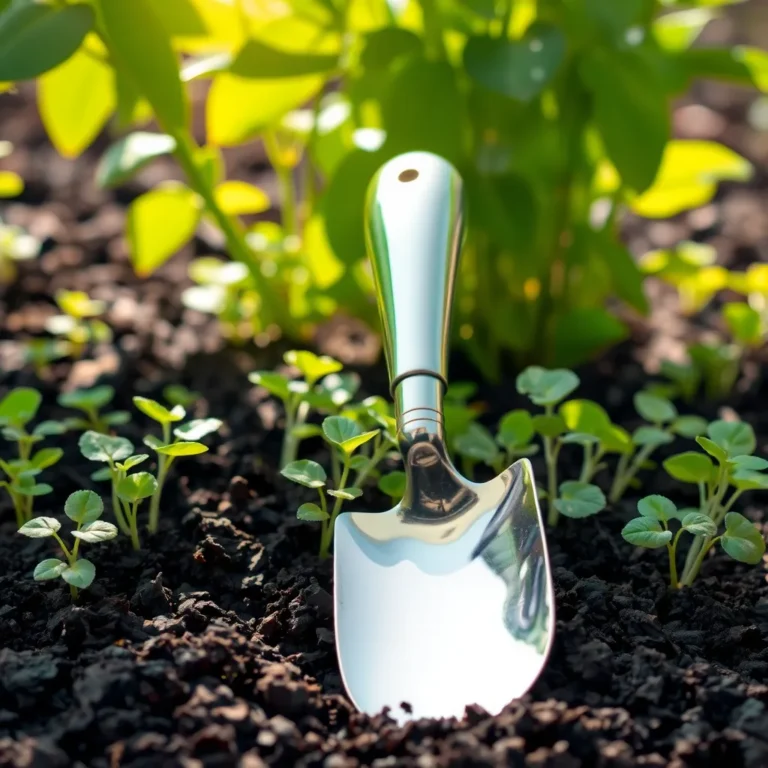
Concrete Planters: Stylish Minimalist Option

Materials Needed
– Molds (silicone or plastic)
– Concrete mixture (quick-setting)
– Water
– Mixing bucket
– Stirring stick
– Sandpaper (for smoothing edges)
Step-by-Step Crafting Instructions
1. Choose Your Mold: Pick a mold shape you like. You can use old bowls or plastic containers.
2. Mix Concrete: In a mixing bucket, combine the concrete mixture with water. Stir until smooth.
3. Fill the Mold: Pour the mix into your mold. Tap gently to remove air bubbles.
4. Let It Set: Allow the concrete to harden for at least 24 hours.
5. Remove from Mold: Once dry, carefully take the planter out of the mold.
6. Smooth Edges: Use sandpaper to smooth rough edges. This makes it look neat.
7. Add Drainage Holes: If needed, drill holes in the bottom for water to escape.
Ideal Plants for Concrete Planters
Concrete planters work great for:
– Succulents
– Cacti
– Small herbs
These plants thrive with little water and love the concrete’s warmth.
Stone and Pebble Planter: Natural Aesthetic Enhancement

Materials Needed
– Small stones
– Pebbles
– Potting soil
– A container (like a bowl or pot)
– Plants
Instructions for Assembling
1. Start by choosing your container. It can be any shape you like.
2. Add a layer of small stones at the bottom. This helps with drainage.
3. Fill the container with potting soil, leaving some space at the top.
4. Place your plants into the soil. Make sure they are snug.
5. Add pebbles on top of the soil. This gives a nice look and keeps moisture in.
Plant Suggestions for Rock Gardens
– Succulents work great because they need little water.
– Cacti are also a good choice for sunny spots.
– Low-growing herbs, like thyme, can add green and smell nice.
Recycled Shoe Planters: Unique and Eco-friendly

Materials Needed
– Old shoes (sneakers or boots work best)
– Potting soil
– Small rocks or pebbles for drainage
– Scissors or a knife
Instructions for Creating Drainage and Planting
Start by cleaning your old shoes. Remove any laces and insoles. Cut a few small holes in the bottom for drainage. This helps excess water escape. Next, add a layer of small rocks in the bottom. This keeps the soil from washing out. Fill the shoes with potting soil, leaving some space at the top. Finally, plant your chosen flowers or herbs. Water lightly to settle the soil.
Plant Ideas for Shoe Planters
You can use many plants in shoe planters. Succulents thrive in shoes since they need little water. Herbs like basil and mint also work well. For colorful blooms, try pansies or marigolds. Make sure your plants match the light in your space.
Tips for Plant Selection: Choosing the Right Plants

Choosing the right plants is key to your DIY planter success.
Indoor vs. Outdoor Plant Choices
For indoor planters, I suggest low-light plants. Snake plants and pothos thrive indoors. For outdoor planters, opt for flowers or herbs. Marigolds and basil are great options. They love sunlight and add color.
Considerations for Sunlight and Space
Think about where you will place your planter. If it gets full sun, pick sun-loving plants. If it’s in a shaded spot, choose shade-tolerant plants. Also, consider how much space you have. Smaller plants fit well in tight spots. Larger plants need more room to grow.
Seasonal Planting Tips
Timing matters when planting. In spring, many plants bloom beautifully. Summer is great for fast-growing herbs. Fall is perfect for hardy plants like mums. Always check your local climate for best planting times. This helps your plants thrive and look their best.
Incorporating DIY Planters into Your Space: Design Ideas

Placement Suggestions for Indoor Spaces
When placing DIY planters indoors, think about light. Most plants need bright light. A sunny window sill is a great spot. If you have low light, choose plants like pothos or snake plants. Use shelves to add height. This adds interest and saves space. You can also place planters on tables, desks, or even the floor. Group smaller planters together for a cozy feel.
Enhancing Outdoor Spaces with DIY Planters
For outdoor spaces, pick spots that get sunlight. Patios, porches, and gardens are perfect. You can use larger planters to create focal points. Mix flowers and herbs for color and function. Hanging planters can add depth to walls. They draw the eye upward and make your space feel bigger. Don’t forget to think about weather. Make sure your planters can handle rain or sun.
Mixing and Matching Planter Styles for Visual Appeal
Mixing planter styles can make your space lively. Pair rustic wood planters with sleek metal ones. This creates a fun contrast. Use colors that match or complement your home. You can also vary heights and sizes. Tall planters can stand next to short ones for balance. By mixing shapes, you create a dynamic look. Remember, the goal is to have fun while making your space unique!
Conclusion
You learned about fun ways to create unique planters. From tin cans to wooden crates, each method brings charm and style. You can grow plants in recycled materials or personalize pots with paint. We also explored modern and soft designs like macrame and fabric hangers. Remember, choose plants that fit your space and light. With these tips, you can enjoy greenery and express your style. Dive into your next DIY planting project and enjoy the results!