8 Steps to Build a Great Garden Trellis or Arbor
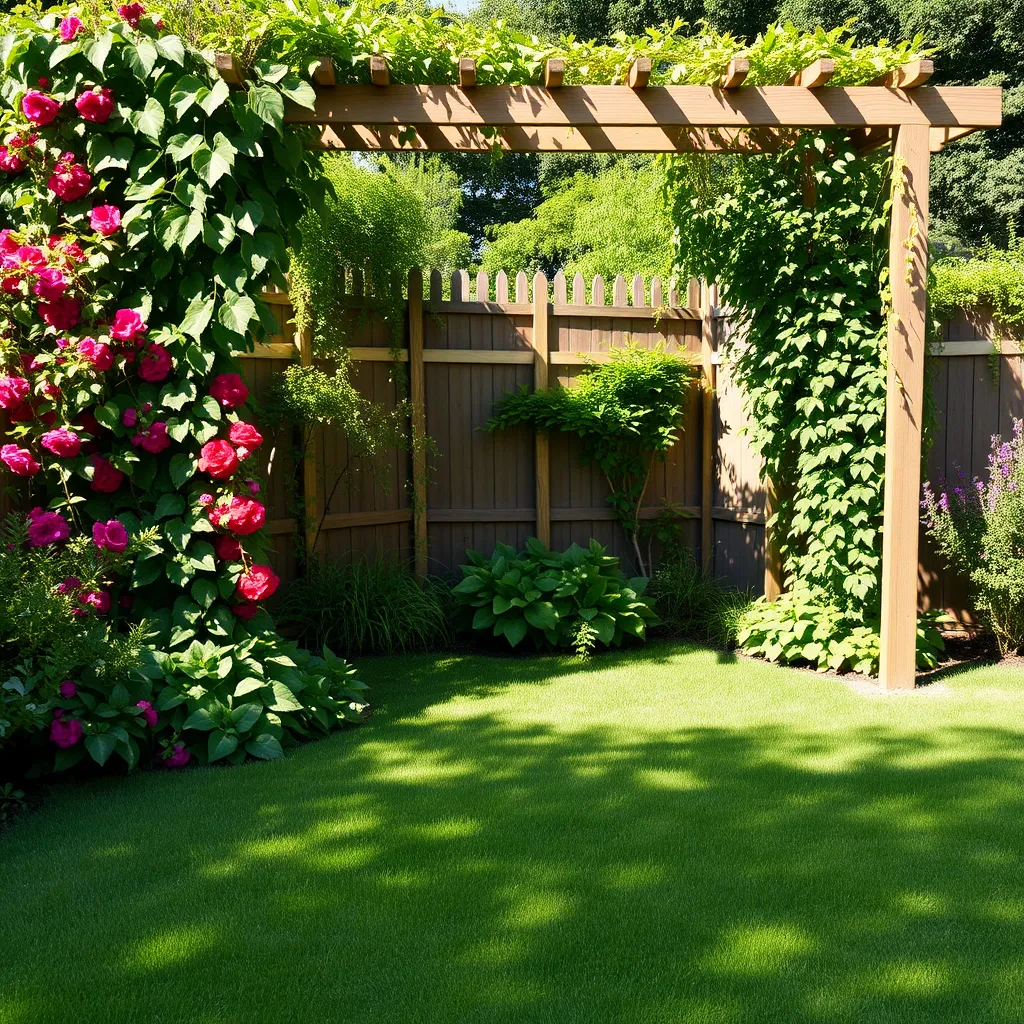
Are you ready to enhance your garden? Building a trellis or arbor can add beauty and function. In just eight simple steps, you can create a sturdy support for your plants while boosting your garden’s charm. I’ll guide you through choosing the right design, gathering materials, and even adding those all-important finishing touches. Let’s dig in and get started on your garden transformation!
Step 1: Determine the Location for Your Trellis or Arbor

To start, find the best spot for your trellis or arbor. Think about sunlight and shade. Plants grow best when they get enough light. Too much shade can stunt their growth. Look at how the sun moves across your yard.
Next, check the space you have. You want enough room for the structure. Make sure it doesn’t crowd other plants. Notice how tall your plants might grow. You don’t want them to block paths or views.
Finally, place the trellis or arbor near plants that need support. Climbing plants like vines thrive on trellises. Ensure they have easy access to your new structure. This way, they can grow up and fill the space nicely.
Step 2: Choose the Right Design for Your Trellis or Arbor

When you pick a design for your trellis or arbor, think about what looks good. Popular choices include A-frame, archway, and panel designs. Each style has its own charm and function.
A-frame trellises stand tall and can support many plants. They often work well for climbing veggies like beans or peas.
Archways create a lovely entry point. They can frame a path and add beauty to your garden. These designs can be great for flowering vines.
Panel trellises offer a flat surface for plants to climb. They can serve as a privacy screen or a backdrop for your flowers.
Consider these factors when choosing a design:
– Style: Match the style to your garden. A rustic look may need wood, while metal gives a modern touch.
– Height: Think about how tall you want it. Taller designs are great for big plants, while shorter ones suit smaller flowers.
– Intended use: Know what plants you want to grow. Some plants need more support than others.
To select a design that fits your garden, take a step back. Look at the colors and shapes in your space. You want your trellis or arbor to add to the beauty, not clash with it. Sketch your ideas or use garden design apps to visualize your choices. This will help you find the best match for your garden.
Step 3: Gather Necessary Materials

To build a strong trellis or arbor, you need the right materials. Here’s what I suggest you collect:
– Wood: Look for cedar or redwood. They resist rot and weather well.
– Metal: Steel or aluminum is good for a modern look. They last a long time.
– PVC: This is a lightweight option. It’s easy to work with and won’t rust.
Next, think about finishes. Weather-resistant treatments are key. Use sealants or stains to protect your wood. Metal can be painted or treated to resist rust. PVC needs less care, but you can paint it for style.
Now, let’s talk about fasteners. Use galvanized screws for wood. They resist rust and hold tight. For metal, use bolts and nuts to keep things secure. PVC needs special glue or screws. Choose the right fasteners for your materials to ensure durability.
Step 4: Collect the Tools Required for Construction

To build a great garden trellis or arbor, you need the right tools. Here’s a list of essential tools to help you:
– Saw: A handsaw or a power saw helps cut wood to size.
– Drill: Use this for making holes and driving screws into your materials.
– Level: A level ensures your structure stands straight.
– Measuring tape: Measure twice to cut once. Accurate measurements save time.
Other tools can make your work easier. Consider using a post hole digger. This tool helps dig deep holes for your posts. It saves you energy and time.
Safety is key when working with tools. Here are some important safety items:
– Gloves: Protect your hands from sharp edges and splinters.
– Goggles: Wear these to shield your eyes from dust and debris.
– Hearing protection: Use earplugs or earmuffs when using loud tools.
Collecting these tools and safety gear will set you up for success. You’ll feel ready to start building your trellis or arbor!
Step 5: Prepare the Site and Groundwork

First, clear the area of debris and plants. This makes space for your trellis or arbor. Remove rocks, old roots, and large weeds. Use a shovel or hoe to dig deep. Next, check for underground utilities. Call your local utility company before digging. They can help you avoid hitting cables or pipes. This step keeps you and your garden safe.
Now, mark the area where your trellis or arbor will go. Use stakes and string to outline the shape. Make sure it is straight and level. You can also use spray paint for clear marking. This helps you visualize the size and shape. It ensures you have enough space for plants to climb. Careful site prep sets a strong base for your project.
Step 6: Constructing the Trellis or Arbor Frame

To build a sturdy trellis or arbor, start by measuring your wood or metal pieces. Use a saw to cut them to the right lengths. For example, if your design requires a frame of 6 feet tall and 4 feet wide, cut two pieces at 6 feet and two at 4 feet. Make sure all cuts are straight.
Next, lay out your pieces on a flat surface. Form a rectangle with your cuts. Use a square to check the corners. This step ensures everything lines up right.
To secure the frame, use wood screws or bolts. I suggest pre-drilling holes to avoid splitting the wood. For added strength, place brackets at each corner. This method gives you a stable frame that can hold plants well.
If you’re using metal, consider using a welding technique. This process offers a strong bond for your structure. If welding is not an option, use brackets and screws for a solid hold.
For a clearer view, create a simple diagram. Draw your frame shape with all measurements noted. This visual aid helps keep you on track during assembly.
Remember, a well-constructed frame is key to a successful trellis or arbor. It supports plants and adds beauty to your garden.
Step 7: Install Your Trellis or Arbor Into the Ground

To make your trellis or arbor stable, choose between concrete or anchoring. Both methods work well, but they have different needs.
Methods for Achieving Stable Footing: Concrete vs. Anchoring
– Concrete: This method gives strong support. Mix concrete and pour it into the holes. Make sure it covers the base of the posts well.
– Anchoring: Use metal anchors instead of concrete. This method allows for easier removal later. Drive the anchors into the ground and attach the trellis or arbor to them.
Step-by-Step Instructions on Planting and Securing
1. Dig Holes: Start by digging holes for the posts. Each hole should be about 2 feet deep.
2. Check Level: Place the posts into the holes. Use a level to ensure they stand straight. Adjust as needed.
3. Secure Posts: If using concrete, pour it around the posts. Let it cure for 24 hours. For anchors, tighten the bolts to secure the posts.
4. Backfill: Fill in the holes with dirt. Pack it tightly to avoid any movement.
5. Final Check: Step back and check for level and alignment. Make adjustments if needed.
Importance of Checking Level and Alignment During Installation
Always check the level and alignment. If your trellis or arbor leans, it may not support plants well. Use a level tool to make sure everything is straight. Taking time here saves you trouble later.
Step 8: Adding Finishing Touches and Maintenance Tips

To make your garden trellis or arbor stand out, think about adding paint or stain. A fresh coat can brighten your garden and protect the wood from the weather. Choose colors that match your garden style. Light colors reflect heat, while dark colors can absorb it.
Next, consider adding plant supports. Wires or netting help climbing plants grow up your trellis. Use strong wire that can hold the weight of your plants. Place the wires at different heights for better support. This gives your plants space to spread out and breathe.
Finally, maintenance is key for your new structure. Check for any loose parts or signs of wear. Look for cracks or rot in the wood. Clean off dirt and dust to keep it looking nice. If you see peeling paint, touch it up right away. This keeps your trellis or arbor strong and beautiful for years to come.
Conclusion
Building a trellis or arbor enhances your garden’s beauty and function. You learned the steps: from choosing a location to installing and maintaining your structure. Selecting the right design and materials is key for lasting support. Remember to gather tools and prepare the site well. With careful planning and execution, your garden will flourish. Take pride in your work and enjoy the benefits of a sturdy trellis or arbor for years to come. Happy gardening!

