10 Fun DIY Projects for Kids in the Garden Today
Are you ready to make your garden a playground for creativity? I’ve got 10 fun DIY projects that kids will love. From crafting colorful bird feeders to creating magical fairy gardens, these hands-on activities spark joy and learning. Each project includes easy instructions and safety tips, making it simple for you and your little ones to explore nature together. Let’s dive in and unleash the fun in your garden today!
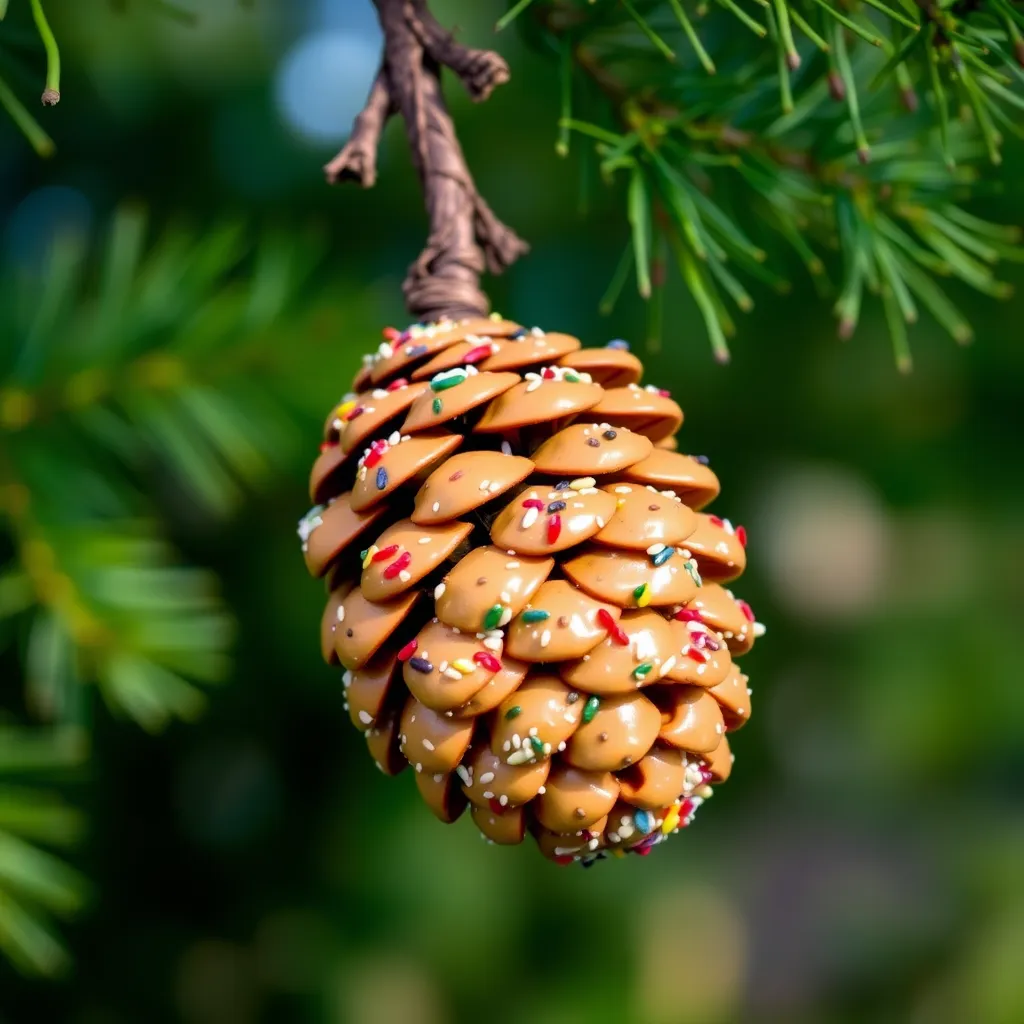
DIY Bird Feeders: Make Your Own Nature Snack Stations

Materials Needed
– Pine cones
– Peanut butter
– Birdseed
– String
– Scissors
Step-by-step Instructions
1. Take a pine cone and spread peanut butter all over it.
2. Roll the pine cone in birdseed until it sticks well.
3. Cut a piece of string and tie it to the top of the pine cone.
4. Hang your bird feeder on a tree branch outside.
Safety Tips for Kids
– Use scissors carefully and ask an adult for help if needed.
– Wash your hands after using peanut butter.
Painted Rock Garden Markers: Personalize Your Garden

Materials Needed
– Smooth rocks
– Acrylic paint
– Paintbrushes
– Sealer spray
– Newspaper
Step-by-step Instructions
1. Set up a workspace with newspaper to keep it clean.
2. Paint the rocks with names of plants or fun designs.
3. Let the paint dry completely.
4. Spray with sealer to protect the paint from rain.
Safety Tips for Kids
– Wear old clothes to avoid paint stains.
– Use non-toxic paint for safety.
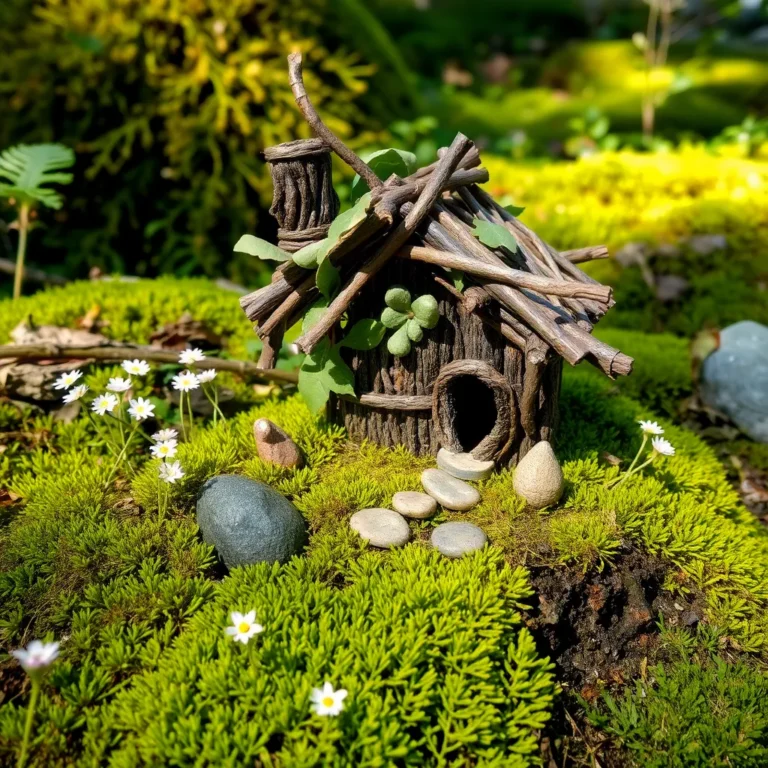
Miniature Fairy Garden: Create a Magical World

Materials Needed
– Small plants
– Miniature figures
– Soil
– Small pot or container
– Decorative stones
Step-by-step Instructions
1. Fill the pot with soil to create a base.
2. Plant the small plants in the soil.
3. Add miniature figures like fairies and animals.
4. Decorate with stones around the plants.
Safety Tips for Kids
– Be careful with small items that could be a choking hazard.
– Wash your hands after planting.
Seed Bombs: Fun and Educational Planting Activity

Materials Needed
– Clay
– Soil
– Seeds (wildflowers work well)
– Water
– Mixing bowl
Step-by-step Instructions
1. Mix one part clay with three parts soil in a bowl.
2. Add seeds to the mix. Choose seeds that grow well in your area.
3. Slowly add water until you can form a dough-like ball.
4. Shape small balls, about the size of a marble.
5. Let them dry for 24 hours.
6. Toss your seed bombs in bare spots or your garden.
Safety Tips for Kids
– Always wash hands after making seed bombs.
– Keep seeds away from your mouth.
– Supervise young kids when using clay.
DIY Garden Pots: Customize Your Plant Containers

Materials Needed
– Empty plastic bottles
– Paint or markers
– Scissors
– Potting soil
– Plants or seeds
Step-by-step Instructions
1. Cut the plastic bottle in half.
2. Use paint or markers to decorate the outside.
3. Add potting soil to the bottom half.
4. Plant seeds or small plants inside.
5. Water your new garden pot.
Safety Tips for Kids
– Be careful with scissors; ask an adult for help.
– Use non-toxic paint or markers.
– Clean up any broken plastic pieces.
Garden Kaleidoscope: A Visual Treat in Nature

Materials Needed
– Cardboard tube (like a toilet paper roll)
– Plastic wrap
– Small beads or colored paper
– Tape
– Scissors
Step-by-step Instructions
1. Cover one end of the tube with plastic wrap.
2. Secure it with tape to keep it tight.
3. Add beads or colored paper inside the tube.
4. Cover the other end with plastic wrap.
5. Look through the open end to see the colors.
Safety Tips for Kids
– Always ask an adult to help with scissors.
– Don’t put the kaleidoscope in your mouth.
– Ensure there are no sharp edges on the tube.
Solar-Powered Wind Chimes: Brighten Up Your Space

Materials Needed
– Solar-powered light kit
– Old utensils (like spoons or forks)
– String or fishing line
– Drill or hammer
– Beads or colorful buttons
Step-by-step Instructions
1. Gather old utensils.
2. Make a hole in each utensil using the drill.
3. Cut the string to your desired length.
4. Thread the string through the holes in the utensils.
5. Attach the solar-powered light to the top.
6. Hang your wind chimes in a sunny spot.
Safety Tips for Kids
– Always have an adult use the drill.
– Be careful with sharp edges on utensils.
– Make sure the area is clear when you hang them.
Nature Journals: Document Your Garden Adventures

Materials Needed
– Blank notebook or sketchbook
– Colored pencils or markers
– Glue
– Scissors
– Nature items (like leaves or flowers)
Step-by-step Instructions
1. Choose a notebook to use as your journal.
2. Go outside and collect interesting items.
3. Glue the items onto the pages.
4. Draw or write about your garden finds.
5. Use colored pencils to add fun designs.
Safety Tips for Kids
– Use scissors safely and with care.
– Avoid picking plants without permission.
– Wash hands after handling nature items.
Garden Scavenger Hunt: An Engaging Outdoor Activity

Materials Needed
– Scavenger hunt list (with items to find)
– Paper and pencil
– Bags for collecting items
– Timer or stopwatch
Step-by-step Instructions
1. Create a list of garden items to find.
2. Give each child a copy of the list.
3. Set a timer for the hunt.
4. Let kids find and collect items from the list.
5. Gather together to share what everyone found.
Safety Tips for Kids
– Stay within sight of an adult.
– Avoid picking anything harmful, like thorny plants.
– Watch out for insects and stay safe.
DIY Compost Bin: Teach Kids About Recycling and Nature

Creating a compost bin is a fun way to teach kids about recycling. It helps them learn how to turn food scraps into rich soil. Plus, it shows them how nature works.
Materials Needed
– A large plastic bin with a lid
– Kitchen scraps (like fruit and veggie peels)
– Yard waste (like leaves and grass)
– Shovel or garden fork
– Water
Step-by-step Instructions
1. Choose a Bin: Find a large plastic bin. Make sure it has a lid.
2. Add Ingredients: Add kitchen scraps and yard waste. Mix them well.
3. Moisten the Mixture: Use water to dampen the compost. It should feel like a sponge.
4. Turn the Compost: Every week, use a shovel to mix the compost. This adds air.
5. Wait: Let the compost sit for a few months. It will break down into dark soil.
Safety Tips for Kids
– Always wash hands after handling food scraps.
– Use gloves when mixing compost.
– Keep the compost bin closed to avoid pests.
– Supervise younger kids while they work.
This project makes learning about recycling fun. Kids can watch their scraps turn into rich soil. It’s a great way to connect with nature!
Conclusion
You learned how to create fun projects like DIY bird feeders and painted rock markers. Each activity includes easy steps, important materials, and safety tips for kids. These hands-on projects help you connect with nature.
Engaging in these tasks builds skills and a love for the outdoors. Try them out, and watch your garden transform into a colorful and lively space. Enjoy learning and creating together as a family!